Install a Peel-and-Stick Tile Backsplash
The highest-impact kitchen upgrade you can do without touching thinset. Renter-friendly and genuinely durable.
Materials
- Peel-and-stick tile sheets (measure + 10% extra)
- Degreaser cleaner
- Painter's tape
- Clear silicone caulk
Tools
- Utility knife + extra blades
- Level
- Measuring tape
- Straightedge
- J-roller or rolling pin
How to build it
- 1
Degrease everything
Kitchen walls carry an invisible film of cooking grease that kills adhesive. Scrub the wall with degreaser, rinse, and let it dry overnight. This unglamorous step decides whether your tiles last 10 years or 10 weeks.
- 2
Snap a level starting line
Countertops are rarely level. Measure up from the counter and draw a level line where your first row will sit — you'll caulk the small gap at the counter later. Start at the most visible corner and work outward.
- 3
Dry-fit and cut
Hold each sheet in place before peeling. Cut around outlets with a sharp utility knife against a straightedge — change blades often; dull blades tear instead of cut.
- 4
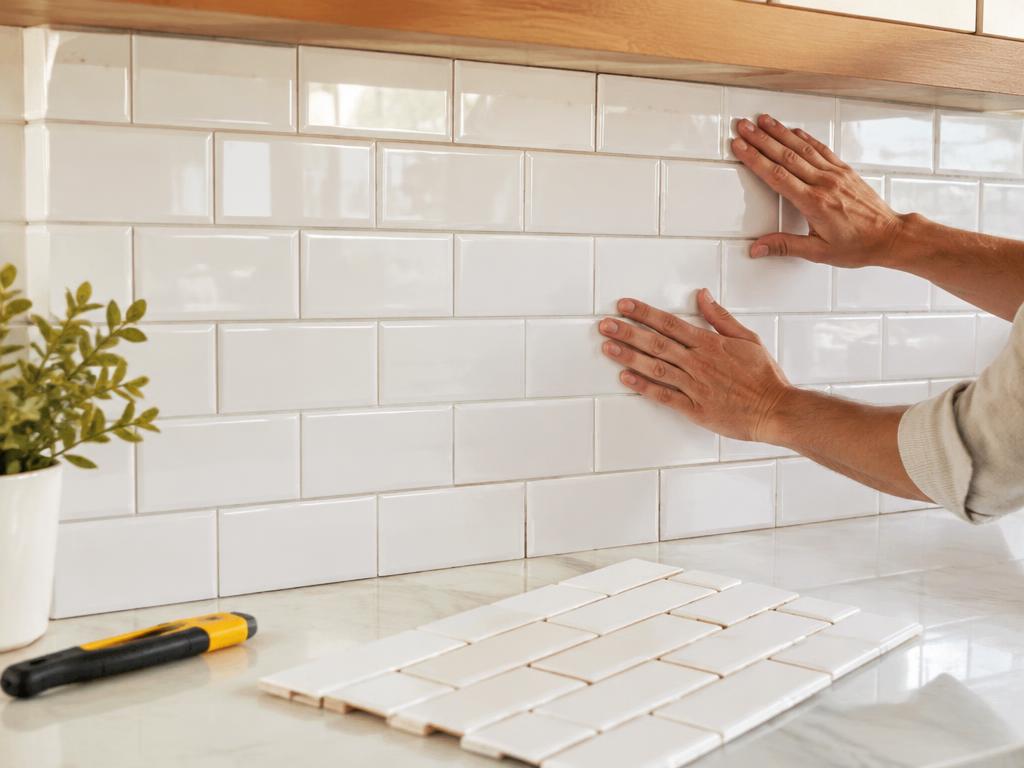
Stick and roll
Peel the backing, align the top edge to your line, and smooth down from the center out. Then roll every inch firmly with a J-roller (or rolling pin). The pressure is what activates the adhesive.
- 5
Caulk the seams
Run a thin bead of clear silicone along the counter junction and any exposed edges. Smooth with a wet finger for a pro finish.
Pro tip
Turn off power and remove outlet covers before tiling — tile behind the cover plate, then reinstall. It looks custom instead of DIY.
Want a project like this every morning?
One project a day, free. Materials, steps, and a pro tip — straight to your inbox.