Seal Door Drafts Before Cold Weather Arrives
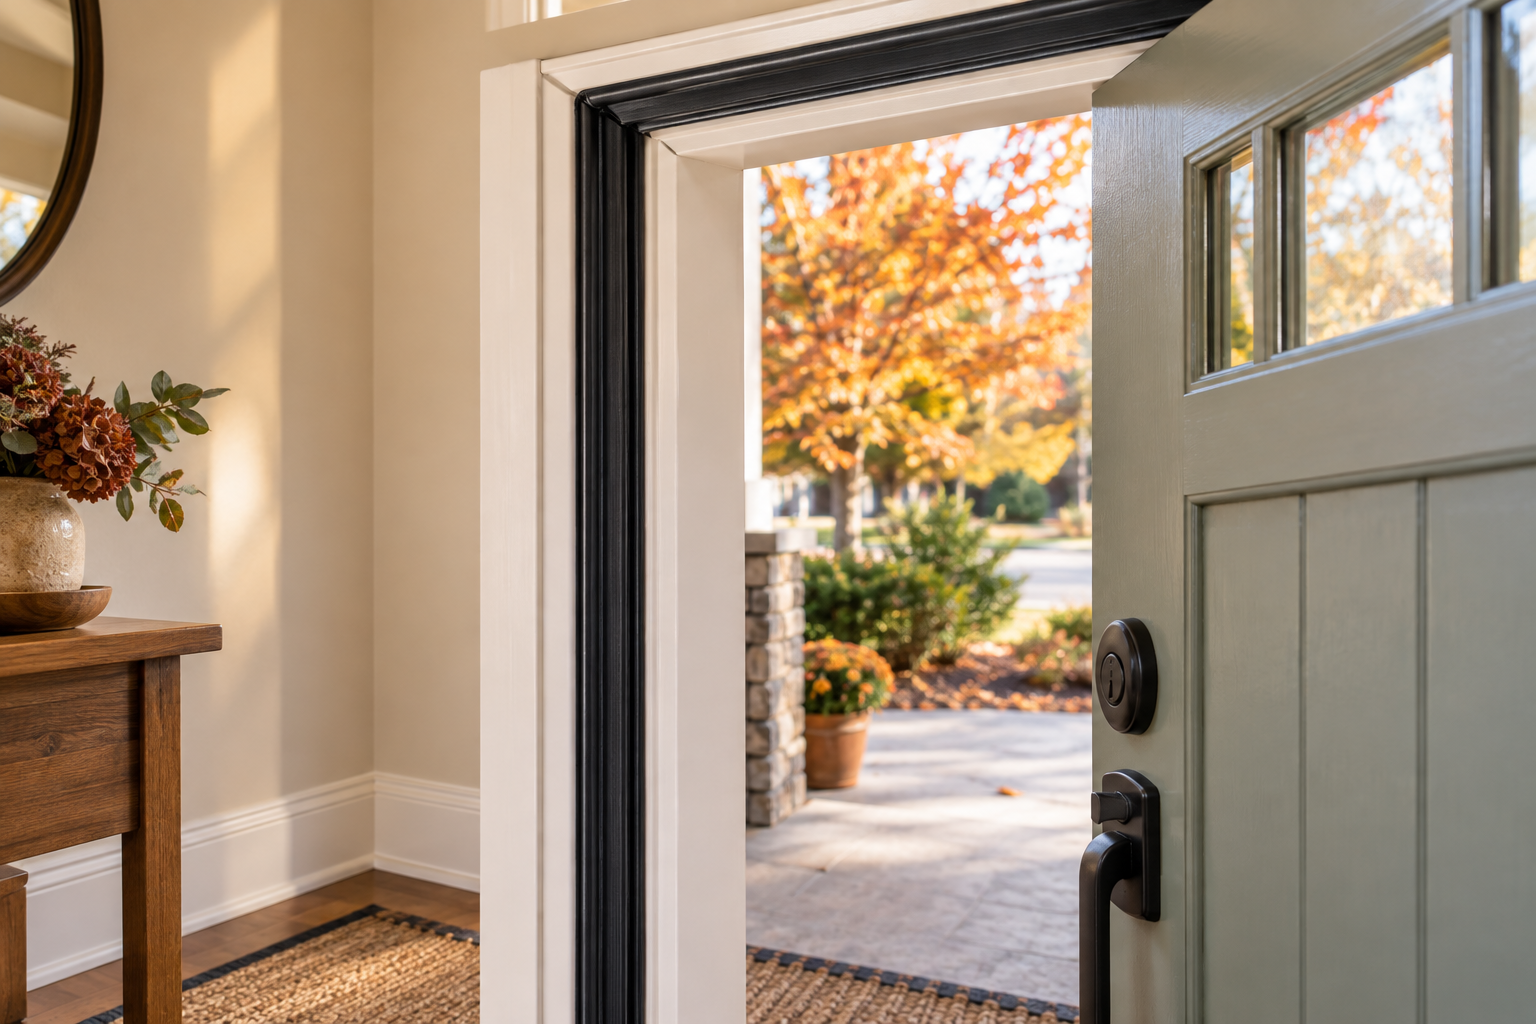
Keep autumn chills outside by replacing worn adhesive weatherstripping around an exterior door. This simple upgrade helps reduce drafts without replacing the door.
Materials
- Exterior-rated, self-adhesive EPDM rubber weatherstripping sized for your door gaps
- Mild dish soap
- Warm water
- Lint-free cleaning cloths
- Painter’s tape for temporary positioning
Tools
- Tape measure
- Scissors
- Plastic scraper
- Flashlight
- Pencil
How to build it
- 1
Check that this repair suits your door
Inspect the top and sides of the closed door for damaged seals and visible gaps, using a flashlight to help spot openings. This project suits doors with a flat stop surface designed to accept adhesive weatherstripping; replace groove-mounted or specialty seals with their matching type instead. For a labeled fire-rated door, use only replacement seals permitted by its manufacturer.
- 2
Measure and select the seal
Measure both side stops and the top stop, then buy enough weatherstripping for those runs plus a little trimming allowance. Choose a profile whose stated working gap range matches the space between the closed door and its stop; thicker is not automatically better. If the door sags, rubs, or fails to latch already, address that problem before adding a seal.
- 3
Remove the worn adhesive strip
Open the door and gently peel away the old adhesive weatherstripping. Use a plastic scraper to lift remaining adhesive without gouging the finish, and keep fingers clear of hinges and the closing edge. Avoid sanding or aggressive scraping of old painted surfaces, which may contain lead.
- 4
Clean and dry the mounting surfaces
Wash the stops with a cloth lightly dampened with mild soapy water, then wipe with a clean damp cloth and let everything dry completely. New adhesive needs a sound, clean surface, so do not apply it over loose paint or stubborn residue. Follow the weatherstripping manufacturer’s surface-preparation instructions and minimum application temperature, especially on a chilly October day.
- 5
Test the fit before sticking
With the release liner still attached, temporarily hold short samples against the stops using painter’s tape. Close the door slowly to confirm that the seal will compress gently while allowing normal latching and deadbolt operation. If you have to force the door, choose a thinner or more suitable profile rather than moving the latch hardware.
- 6
Install the three runs
Cut one continuous piece for the top and one for each side, arranging the corner joints so the ends meet snugly without overlapping. Peel back the liner a little at a time and press the adhesive base firmly onto the stop without stretching the rubber. Keep the strip clear of the latch opening and follow any product-specific corner or curing instructions.
- 7
Check closure and find remaining gaps
Close and lock the door several times, confirming that it opens freely and latches without extra force. Close a strip of paper between the door and seal at several points; light resistance when pulling it out suggests contact, while a freely sliding strip can reveal a gap. This repair seals the top and sides only, so inspect the bottom sweep separately if a draft remains near the floor.
Pro tip
Save the packaging or photograph the weatherstripping’s profile and size before discarding it. Matching the same seal later is much easier than guessing from a flattened old piece.
Want a project like this every morning?
One project a day, free. Materials, steps, and a pro tip — straight to your inbox.