Build a Fall Leaf-Mold Bin
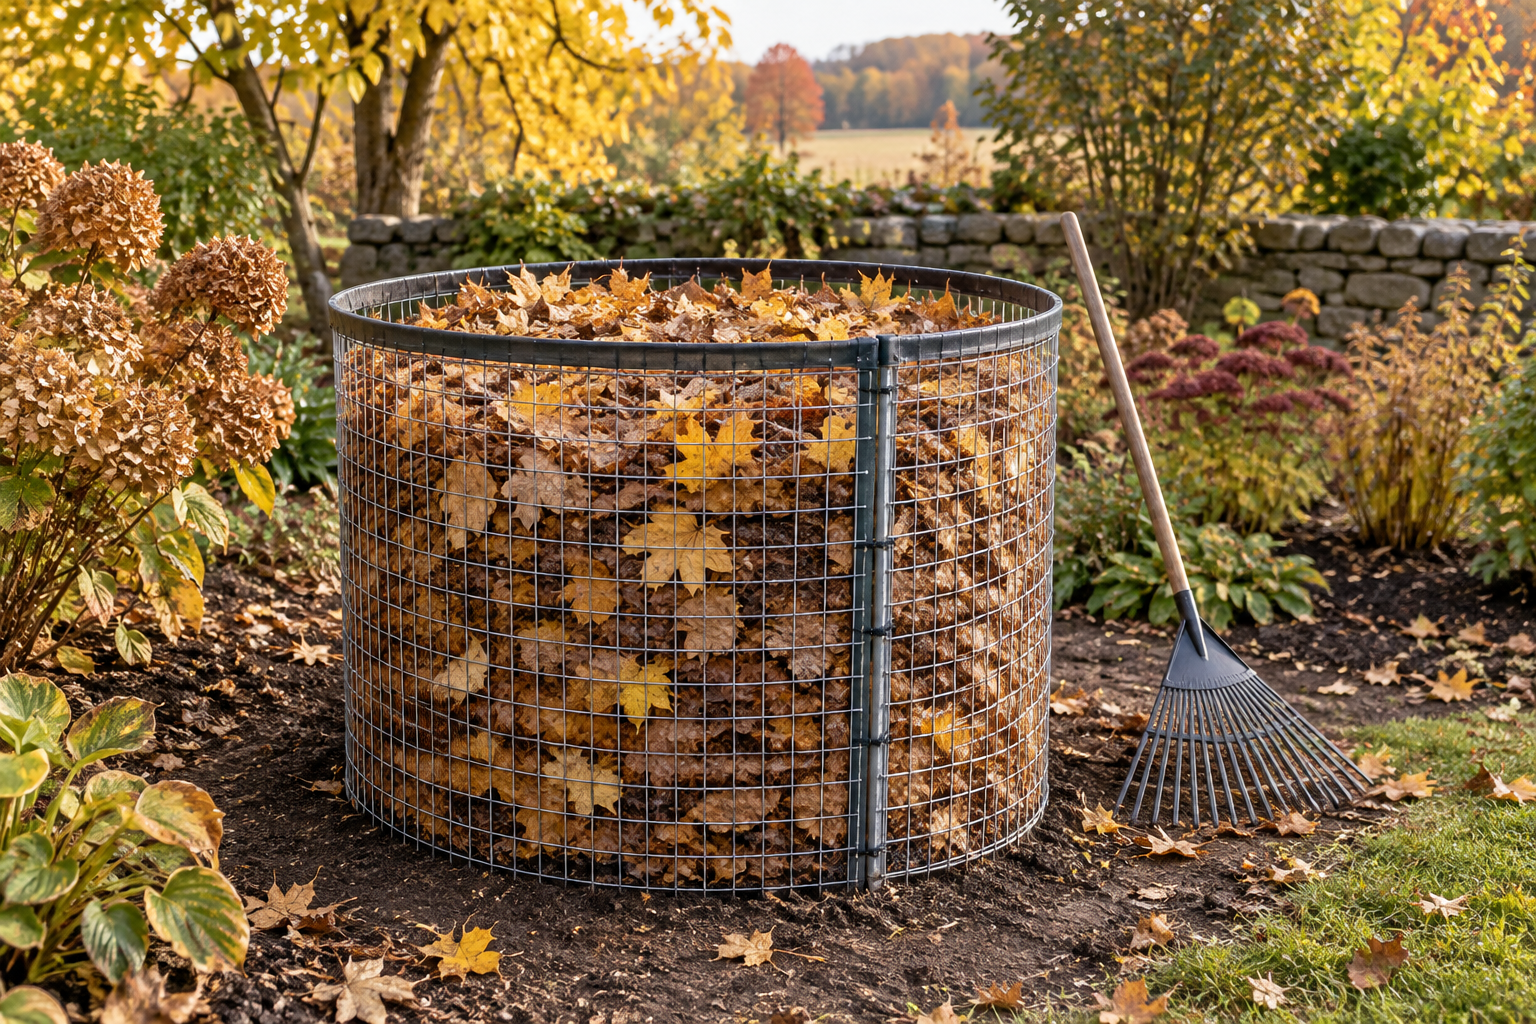
Give autumn leaves a useful home with a simple wire bin. By next fall or later, they can become crumbly leaf mold for mulching beds and improving soil.
Materials
- One piece of galvanized hardware cloth, 36 inches tall by 12 feet long, with 1/2-inch openings
- 8–10 outdoor-rated, UV-resistant cable ties
- Flexible outdoor-rated edge trim sized for the wire mesh, approximately 30 feet
- Fallen leaves from healthy deciduous trees
- Water
Tools
- Tape measure
- Wire cutters rated for the mesh gauge
- Pliers
- Heavy work gloves
- Safety glasses
- Garden hose with spray nozzle
- Leaf rake
How to build it
- 1
Choose a suitable spot
Find a level patch of bare soil in a sheltered garden area, preferably in partial shade and within reach of a hose. Allow space for a bin roughly 44 inches across, plus room to work around it. Keep it away from building siding, outdoor heat sources, drainage paths, and access routes; follow any local wildfire-defensible-space rules.
- 2
Prepare the wire
Put on heavy gloves and safety glasses before handling the hardware cloth, which can spring back when unrolled. On a clear, flat surface, measure and cut a 12-foot length if needed. Use pliers to bend exposed cut ends inward so they cannot project from the finished bin.
- 3
Cover the exposed edges
Fit outdoor-rated edge trim over the top, bottom, and both vertical edges of the mesh, following its installation directions. Choose trim that grips securely without leaving exposed wire points. Keep your gloves on during assembly, since the mesh can still scratch.
- 4
Form and fasten the cylinder
Stand the mesh on its long edge and curve it into a cylinder with the vertical ends overlapping by about 8 inches. Secure the overlap with cable ties spaced from top to bottom, positioning the locking heads outside the bin. Trim the tie tails flush and check that the cylinder sits flat without wobbling.
- 5
Fill with damp leaves
Add leaves in loose layers, wetting each layer until it feels like a wrung-out sponge rather than dripping. Mix different leaf types when possible, and break apart thick mats with the rake so water can penetrate. Exclude litter, pet waste, and visibly diseased leaves, and keep food scraps out of this leaf-only bin.
- 6
Let time do the work
Check moisture periodically, especially during dry weather, and add water if the interior leaves feel dry. As the pile settles, add more damp leaves during the fall collection season, then stop adding fresh material so the batch can mature evenly. After roughly 12–24 months, use the dark, crumbly, earthy-smelling material as mulch or a soil amendment; return recognizable, tough leaves to the next batch.
Pro tip
Smaller leaf pieces break down faster, but shredding is optional. Leaf mold is primarily a soil conditioner—not a complete fertilizer—so use it to improve moisture retention and soil structure rather than as a substitute for plant nutrients.
Want a project like this every morning?
One project a day, free. Materials, steps, and a pro tip — straight to your inbox.