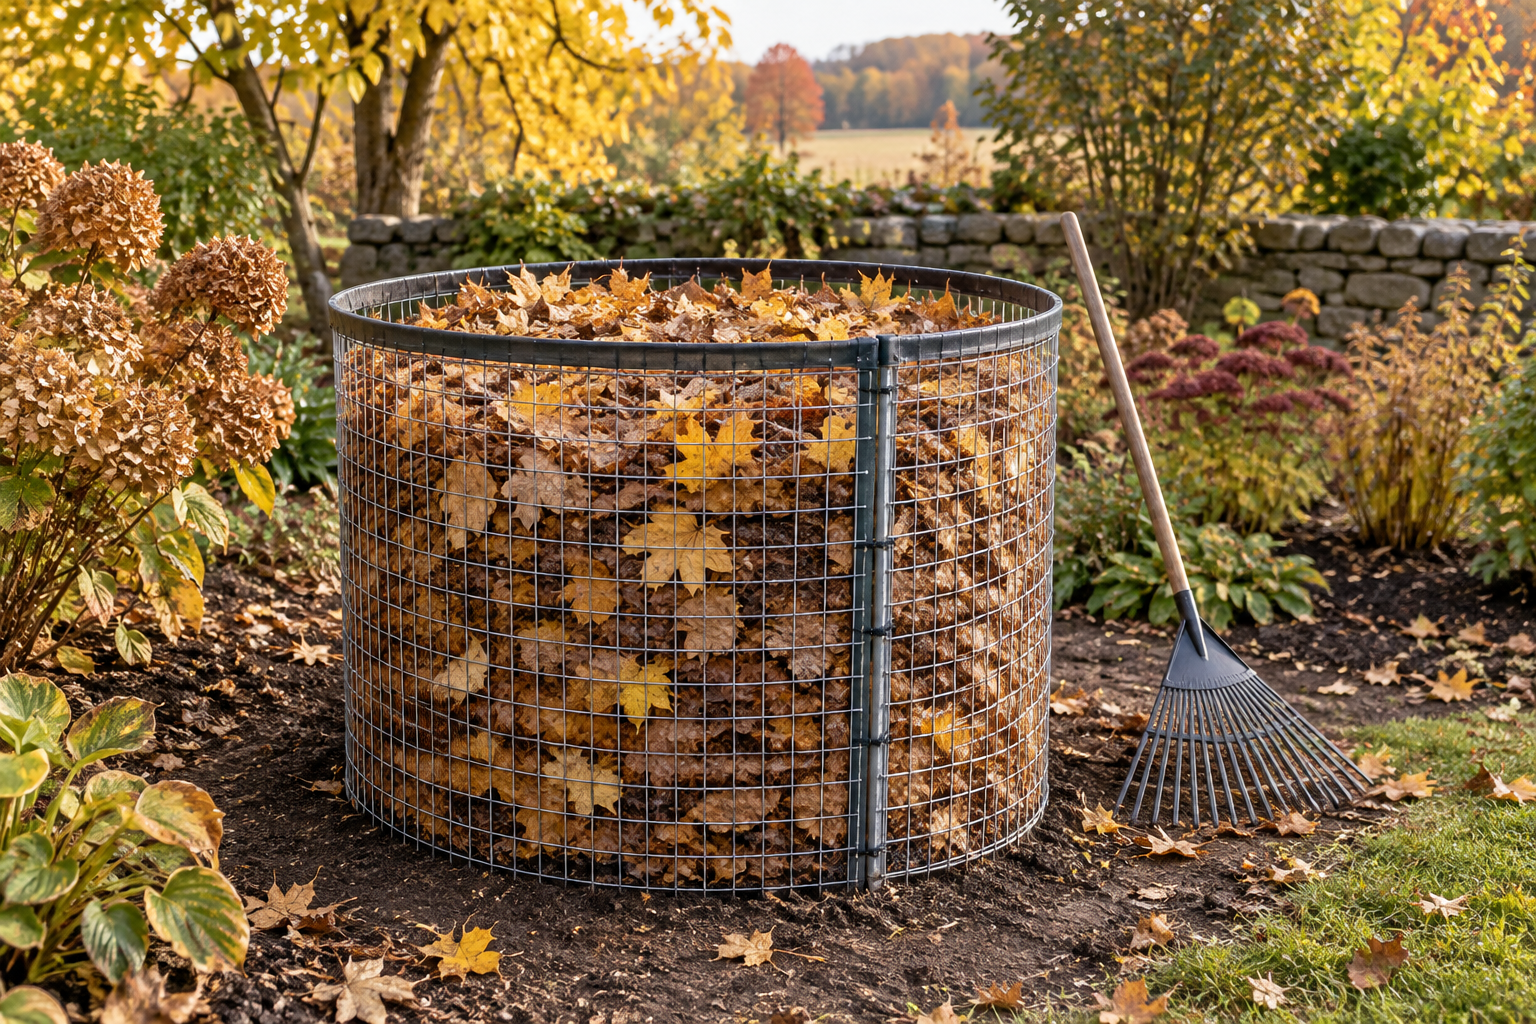
Build a Cedar Boot Tray for Muddy Fall Days
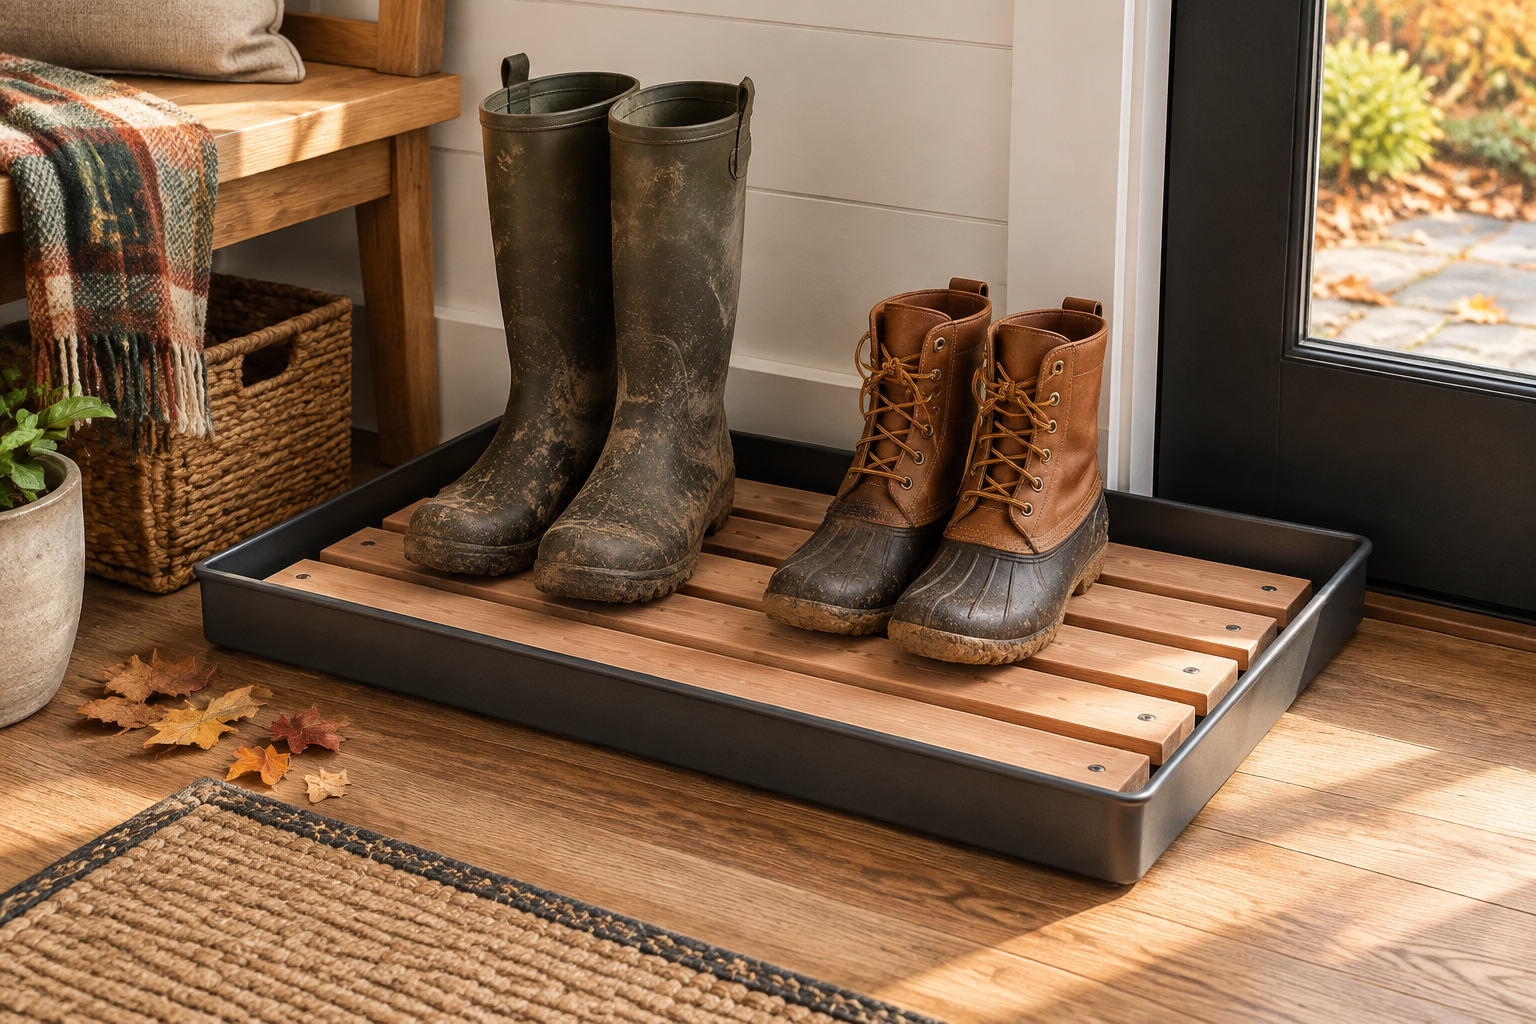
Give wet boots a landing spot before autumn mud reaches your floors. A removable cedar insert keeps soles above small puddles and lifts out for easy cleaning.
Materials
- Rigid, watertight plastic boot tray with a flat bottom
- Untreated cedar 1×2 boards, enough for two support rails and a full set of crosswise slats
- Exterior-rated stainless steel wood screws, 1¼ inches long
- 120- and 180-grit sandpaper
Tools
- Tape measure
- Pencil
- Carpenter’s square
- Hand saw and miter box, or power miter saw
- Drill/driver with pilot-hole and countersink bits
- Clamps
- Safety glasses
- Dust mask or particulate respirator
How to build it
- 1
Choose and measure your tray
Pick a sturdy tray large enough for your household’s everyday boots, and plan a location outside the door’s swing and main walking path. Measure the tray’s usable interior length and width at the bottom, where tapered sides can make it smaller than the rim. The wooden insert should have about ½ inch of clearance on every side so it lifts out easily.
- 2
Plan and cut the cedar pieces
Cut two support rails to the tray’s interior length minus 1 inch. Cut crosswise slats to its interior width minus 1 inch, making enough to cover the rails with roughly ⅜–½-inch gaps between slats. Standard 1×2 boards are usually about ¾ inch thick and 1½ inches wide; verify your lumber before cutting. Clamp the work securely, wear eye protection, and use respiratory protection when producing sawdust.
- 3
Smooth and dry-fit the insert
Sand cut ends, edges, and faces with 120-grit paper followed by 180-grit, slightly easing sharp corners. Lay both rails flat and parallel, then arrange the slats flat across them with each rail about 1 inch in from the slat ends. Adjust the spacing evenly and check that the whole assembly fits inside the tray without binding.
- 4
Fasten the slats to the rails
Move the assembly to a workbench and square it up before fastening. Drill a pilot hole at each slat-to-rail intersection, then lightly countersink so each screw head sits flush. Drive one 1¼-inch screw at each intersection without overtightening and splitting the cedar. Confirm that the screws are shorter than the combined wood thickness and that no points protrude underneath.
- 5
Set up the fall boot station
Brush away sanding dust and place the insert in the tray with its support rails underneath. Press down at the corners and center to check for rocking, and correct any uneven assembly before adding boots. Set the tray on a level surface where it will not slide or create a tripping hazard; leave the cedar unfinished for a simple, easy-to-refresh surface.
- 6
Keep water and grit under control
Lift out the insert regularly to empty collected water and wash the plastic tray with mild soap. Brush mud from the cedar and let both pieces dry completely before reassembling; the slats elevate boot soles but do not replace regular emptying. Check beneath the tray for trapped moisture, especially on wood floors, and periodically inspect the insert for splinters or loose screws.
Pro tip
Make a spacer from scrap wood to keep the slat gaps consistent during assembly. For better drying, loosen boot laces and remove removable insoles rather than leaving tightly closed boots on the rack.
Want a project like this every morning?
One project a day, free. Materials, steps, and a pro tip — straight to your inbox.