Install a Smart Thermostat Yourself
Lower energy bills and a house that's the right temperature when you walk in. Easier than it looks — with one safety caveat.
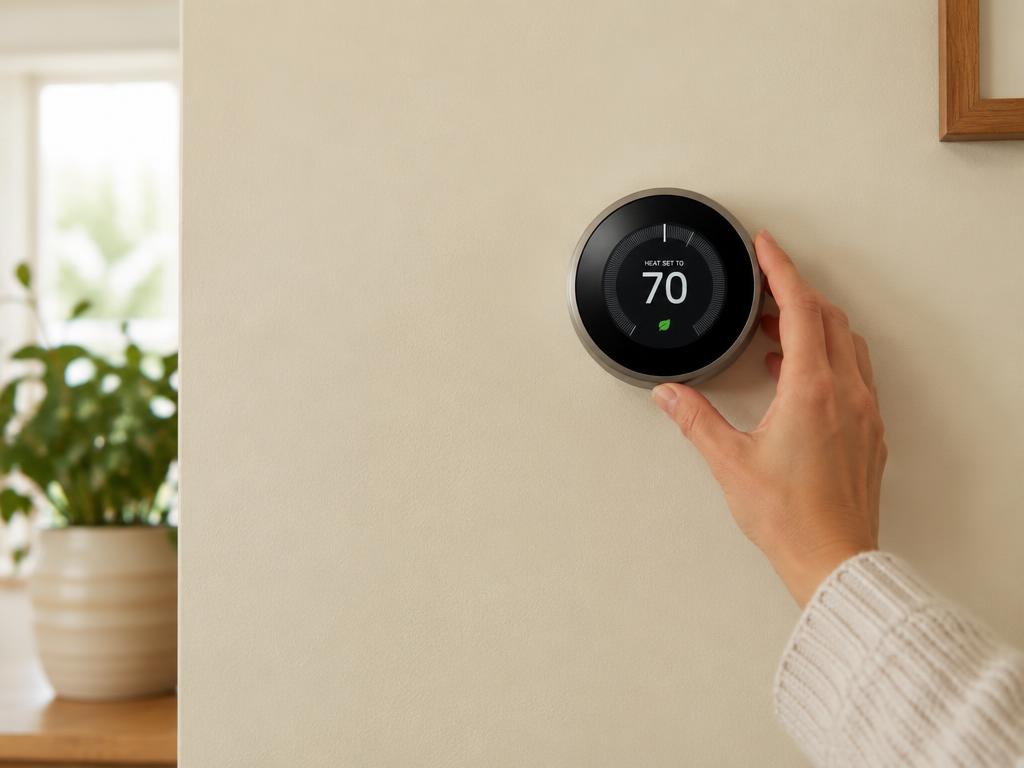
Materials
- Smart thermostat (check compatibility with your HVAC first)
- C-wire adapter (if needed)
- Wall anchors (usually included)
Tools
- Screwdrivers
- Drill (maybe)
- Phone camera
- Voltage tester (optional)
How to build it
- 1
Check compatibility first
Before buying, remove your old thermostat's faceplate and photograph the wiring. Most smart thermostats need a 'C' (common) wire — if you don't have one, choose a model with an adapter kit. The manufacturer's compatibility checker does this in minutes.
- 2
Kill the power
Turn off power to your HVAC system at the breaker — not just the thermostat. These are low-voltage wires, but shorting them can blow the furnace control board fuse.
- 3
Label every wire
Photograph the old wiring, then label each wire with the included stickers according to the terminal letter it came from (R, G, Y, W, C). The wire colors are hints, not rules — trust the terminal letters.
- 4
Swap the base plates
Unscrew the old base, thread the wires through the new one, and connect each labeled wire to its matching terminal. Level the base before tightening — a crooked thermostat is forever.
- 5
Power up and configure
Restore power, snap on the faceplate, and follow the app's setup. Run the system through heat and cool modes to confirm everything's wired right.
Pro tip
If your system is high-voltage (thick wires, 120V/240V, often electric baseboard heat), stop — that requires a line-voltage thermostat and usually an electrician.
Want a project like this every morning?
One project a day, free. Materials, steps, and a pro tip — straight to your inbox.