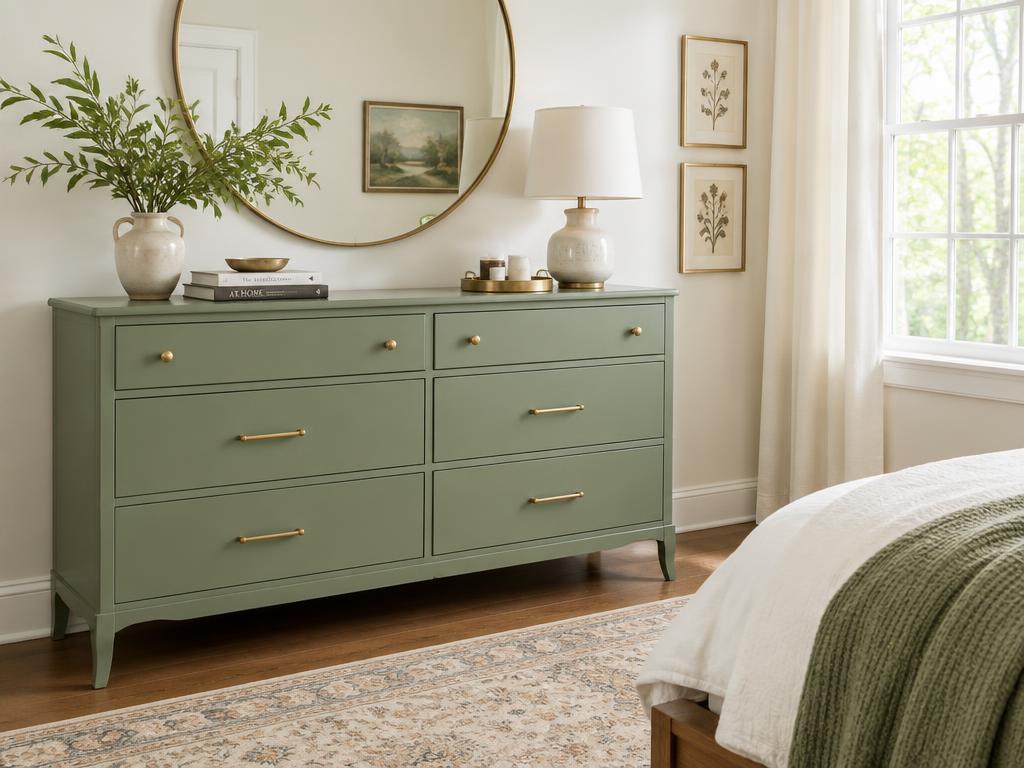
Refinish a Thrifted Dresser Like a Pro
A $30 thrift-store dresser plus a weekend of sanding becomes the piece everyone asks about.
Materials
- Sandpaper: 80, 150, 220 grit
- Wood filler
- Primer (for paint) or pre-stain conditioner (for stain)
- Paint or stain
- Polyurethane topcoat
- New hardware (optional)
Tools
- Orbital sander
- Sanding block for details
- Tack cloth
- Quality brush or foam roller
- Screwdriver
How to build it
- 1
Assess and clean
Check for veneer damage, loose joints, and drawer fit before buying. Clean decades of grime with a degreaser — paint won't stick to furniture polish residue.
- 2
Strip and sand
Remove hardware and drawers. Sand flat surfaces with the orbital sander starting at 80 grit; hand-sand curves and details. You're removing the old finish, not the wood — let the sander do the work.
- 3
Repair and fill
Fill dents and old hardware holes with wood filler, overfilling slightly. Once dry, sand flush and work through 150 then 220 grit over everything. Wipe down with tack cloth.
- 4
Prime and paint (or stain)
For paint: one coat of primer, two thin coats of paint, sanding lightly with 220 between coats. For stain: apply pre-stain conditioner first so softwoods absorb evenly, then stain and wipe.
- 5
Topcoat and reassemble
Two coats of water-based polyurethane protect your work. Let the piece cure for 48–72 hours before heavy use, then install hardware — new pulls are the cheapest way to change the whole look.
Pro tip
Test for lead paint on pieces made before 1978 with a hardware-store test kit before sanding. If it's positive, use a chemical stripper instead and follow the kit's safety guidance.
Want a project like this every morning?
One project a day, free. Materials, steps, and a pro tip — straight to your inbox.