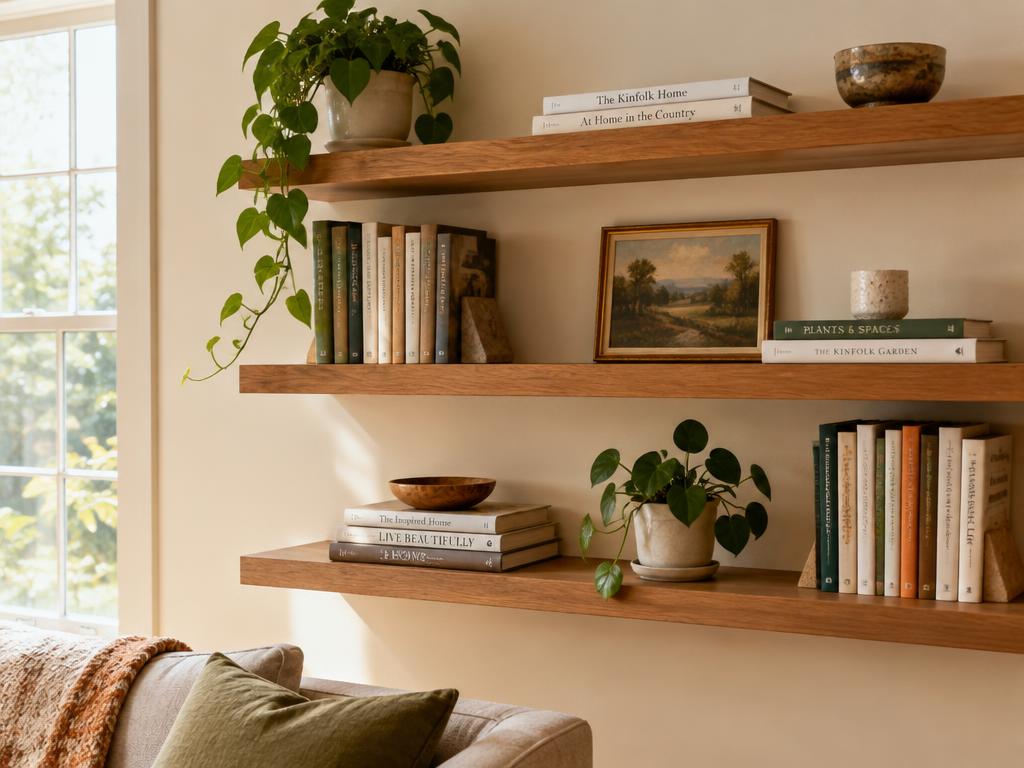
Build Clean Floating Shelves in an Afternoon
No visible brackets, no wobble — just solid shelves that look like they grew out of the wall. Perfect first woodworking project.
Materials
- 1×8 pine boards (cut to length)
- 2×2 lumber for the hidden frame
- Wood glue
- 2½" wood screws
- Wood stain or paint
- Wall anchors rated for 50+ lbs
Tools
- Drill/driver
- Stud finder
- Level
- Miter or circular saw
- Sander or sanding block
How to build it
- 1
Find your studs and plan the layout
Use a stud finder to mark stud locations along the wall. Floating shelves are only as strong as what they're anchored to — aim to hit at least two studs per shelf. Mark shelf heights with a level and painter's tape so you can step back and check the spacing before drilling anything.
- 2
Build the hidden support frame
Cut 2×2 lumber into a ladder-style frame: one long rail that mounts to the wall, with short perpendicular arms every 8–10 inches. These arms slide inside the hollow shelf. Pre-drill holes through the rail at your stud marks.
- 3
Mount the frame to the wall
Hold the frame level against your marks and drive 2½" screws through the rail into the studs. Give the frame a firm tug — it should feel like part of the house. If any section flexes, add another screw.
- 4
Build the shelf box
Rip your 1×8 boards to create a hollow box: top, bottom, and front face, with the back open to slide over the frame. Glue and screw the joints, then sand everything smooth, working up to 220 grit.
- 5
Finish and install
Stain or paint the shelf before mounting — it's far easier on the bench than on the wall. Once dry, slide the shelf over the frame arms and secure from underneath with two small screws. Step back and admire.
Pro tip
Test-fit the shelf box over the frame before finishing. If it's too tight, sand the frame arms slightly rather than forcing it — a forced fit can split the shelf.
Want a project like this every morning?
One project a day, free. Materials, steps, and a pro tip — straight to your inbox.